Showing posts with label projects. Show all posts

Thursday, January 17, 2013

A case for paint


Lately, there’s been a shortage of paint-able furniture around these parts and because of that I’ve been forced to lavish my painterly attentions on other items, their only criteria being that they’re holding still and have not been painted in the past seven days.

And that’s negotiable.


I present to you, my sidekick, The Kit.


The Kit holds all the behind-the-scenes ‘stuff’ that keeps the magic alive (not to mention things from falling over, off and generally going to pieces) in my antique mall space: a hammer, pliers, nails, tape, extra price tags, a magic eight ball, scissors, candy, a Swiffer duster, safety pins, elbow grease, glue, several thousand Sharpie markers and some loose change.

It’s like a vintage tool belt. A cute yet dirty, scruffy, rough-around-the-edges tool belt…


… that needs a makeover.


And thanks to more magic via blue painters tape and my bottomless cans of paint, The Kit is now sporting a set of imperfect & imprecise racing stripes.


 The stripes were sanded a skoch (is there really a correct way to spell ‘skoch’?) in an attempt to help camouflage their imperfect-ness and provide that lived-in look.


Of course, now the inside of The Kit looks more tired than ever so a full remodel is imminent. Please stay tuned. 

Sunday, October 28, 2012

Practice Makes Not-Quite-Perfect and a Giveaway

If you’ve been coming here for a bit, you may recall the vintage Christmas ornament tree I made a couple of years ago: it was a spur of the moment idea, assembled with a lack of permanence, knowing it wouldn’t be going anywhere beyond my living room.
But ... then I thought, "What if I make a version that can travel?" Maybe all the way to my antique mall space where vintage-Christmas-loving-folks can find it and (very carefully) take it home?
What. If.

So I unleashed the vintage ornament stash, pulled a rusty screen from the stack in the garage and experimented with making an ornament tree that’s put together somewhat more permanently than the original one.
  There were some tough decisions to be made involving beading wire, string and heavy duty sewing thread. Not to mention a scary moment with a GIGANTIC needle.  

Please, always wear sturdy shoes when crafting.  Bedroom slippers do not qualify.
 In the end, a slightly less GIGANTIC needle threaded with the heavy duty thread worked best for tying the ornaments to the screen.
I guess my inner seamstress is still lurking somewhere after all. 

( It took about six whole minutes of gluing the caps onto the ornaments, my lap and the tips of my fingers for me to decide that step needed to be eliminated from the process.
Immediately. )
Working my way to the top.

No more split ends.

     I knew that rusty wire would come in handy someday.


      So after gluing, tying, wiring and knotting, I think I have this figured out.
And if you’re not opposed to having my vintage Christmas experiment arrive on your doorstep, I’d love to give away this vintage Christmas ornament tree.
Just leave a comment before midnight PST, Monday, November 5th, and you’re entered.
 This giveaway is open to anyone, anywhere in the world.


Tuesday, November 1, 2011

Because vintage Christmas ornament wreaths are better left to the Glue Whisperers


Some of us are born with a hot glue gun in our hand while others of us just end up with a hot glue gun glued to our hand.

Not to mention those hot glue globs and glue strings all over everything.

For me, it starts and ends with gluing two ornaments together.

With glue from a tube.


Several posts ago, you may recall being introduced to these weeble-lookalikes.


They’re slowly morphing into something more recognizable (I hope).


Last year’s model is wearing his homemade hat and humble paper punch buttons.


This year's version features luxurious upgrades including mother-of-pearl buttons and fancy store-bought top hats.


No hot glue required.


Hope you’re staying warm & cozy.

P.S. I bought the top hats from etsy seller Clear Brook Hollow but I think there are several etsy sellers who carry them. The hats measure 28 mm x 17 mm.

Sunday, July 17, 2011

All dressered up


Things are getting pretty tight in the Garage Where Cars Can’t Park.
And yet, I still managed to squeeze in a dresser.


It wasn’t on my yard sale shopping list but I've always believed that when life gives you dressers, you make space in the garage.


This poor thing had a terminal case of the flakes.


Not the sought-after, time-worn, chippy paint kind of flakes but more along the lines of varnish dandruff.


One $4 can of steely-slate-gray 'oops' paint later and things are looking up for this old dresser.


That’s right, Sandy’s back with a vengeance. J

And there's even more transformed furniture here.

Tuesday, July 5, 2011

With the hope something might sell


My first vintage event as a vendor is less than a month away.

Yesterday involved scrubbing some suspicious goo off of a dresser (Attention: People who sell things at yard sales -- what are you doing to your furniture?!) so today I rewarded myself by making a batch of price tags.

Much more fun than scrubbing goo.

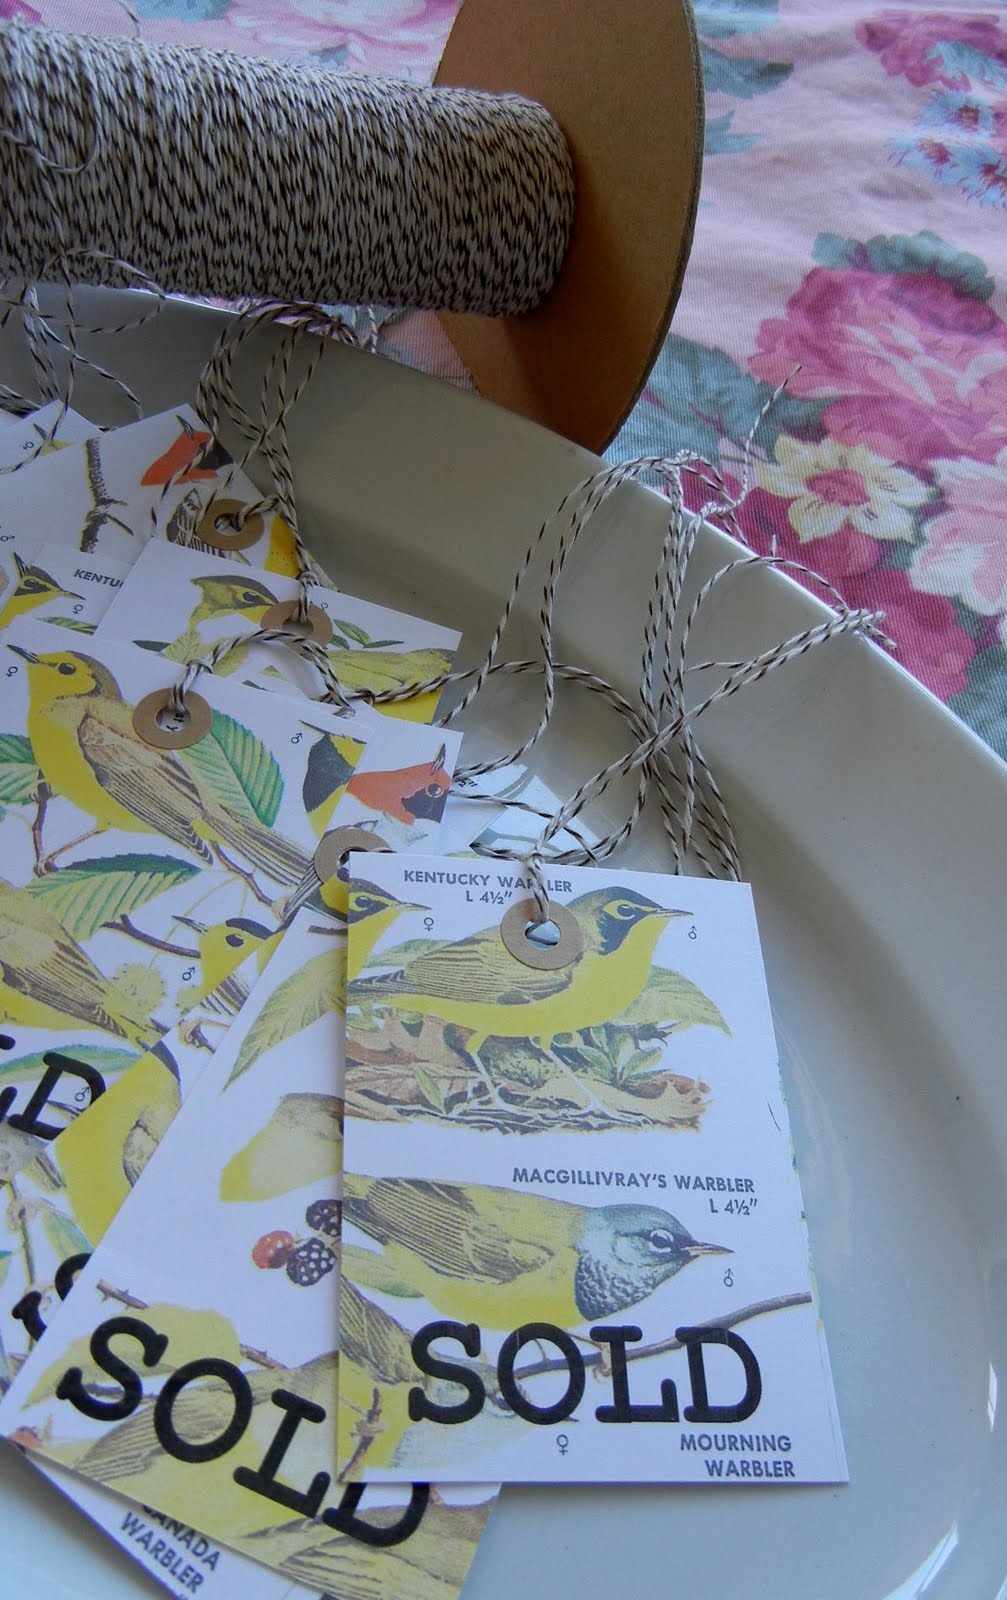
Back in the days when I sold full-time at several antique malls, I made my price tags on my printer using little images of vintage goods.


This is when it pays to never throw anything away.


The 2011 version of those tags. A little less black than the previous ones.

I wanted to find a way to attach the tags that would leave the least amount of mess behind when the tags were removed.

And I wanted to break the chains of the grease pencil pricing cycle.


 This tape seems to be the answer.

I won a giveaway on Amy Cartwright’s blog for a cutetape gift certificate and went on a little shopping spree.

The tapes have fun motifs with just the right amount of stickiness so I don’t think a bunch of goo will be left behind when removed.


This is fabric tape – I don’t know what I’ll use it for yet but I just liked it.


 I hope I’m not counting my MacGillivray’s Warblers before they’re hatched by making these 'SOLD' tags.


Making the world a better place one glob of goo at a time. J

Thursday, June 30, 2011

Sometimes they call me Sandy


Do you recall this little project, waiting patiently (or nervously) in the Garage Where Cars Can’t Park?

It's number finally came up on the to-do list. No big deal – this was going to be a one-color (white) paint job and nothing more.

But after a coat of primer, I thought it might be ‘fun’ to add a second color to give it a little interest.

And I swore on a stack of Country Living magazines that under no circumstances was I going to get anywhere near a piece of sandpaper.


Ahem.

After gently trying to sand off a tiny blob of paint, I lost all control.


There’s just something about distressing that’s so … therapeutic.

Oh, the irony.


After that, what’s the harm in a little vintage wallpaper?


It's a slippery slope.